

How To Make A DIY Fluted Side Table (even if you're a bit rubbish at DIY like me!)
AD - This post is a paid partnership with Craig & Rose Paints
Oh hi! How are you all? I’ve got a fab little DIY to share with you. I made this little side table! Yes me, the one with very little DIY skill or talent, made this table from scratch, and for a fraction of the price tables like this retail for in the shops.

I’m a big fan of the trend for all things fluted/reeded/channelled, whatever you like to call it, I’m into it. I actually blogged about this emerging trend a couple of years ago here and it has since blown up across both high end design and the high street. So when Craig & Rose challenged me to “Unsame My Home” using their paint range, I decided I wanted to update this corner of our living room by having a go at making my own side table. And the best bit is, I could paint it whatever colour I wanted, to make it totally unique to our home. After consulting with Pinterest for inspo on how to do it, it was time to stop deliberating and get cracking.
I ordered samples of Russet and Swedish Blue, as I wanted something that would make a statement but work well with the navy, neutral and rust tones I already have in the room. Russet is a lovely rich, rust shade, which would work so well with the warm neutrals we are seeing everywhere at the moment. But it was the soft, dusky Swedish Blue that was the clear winner for me for this project. It’s baby blue’s sophisticated big sister. The shade pops enough against the navy blue and neutrals to make a statement, but also works within that colour palette so as not to jar.
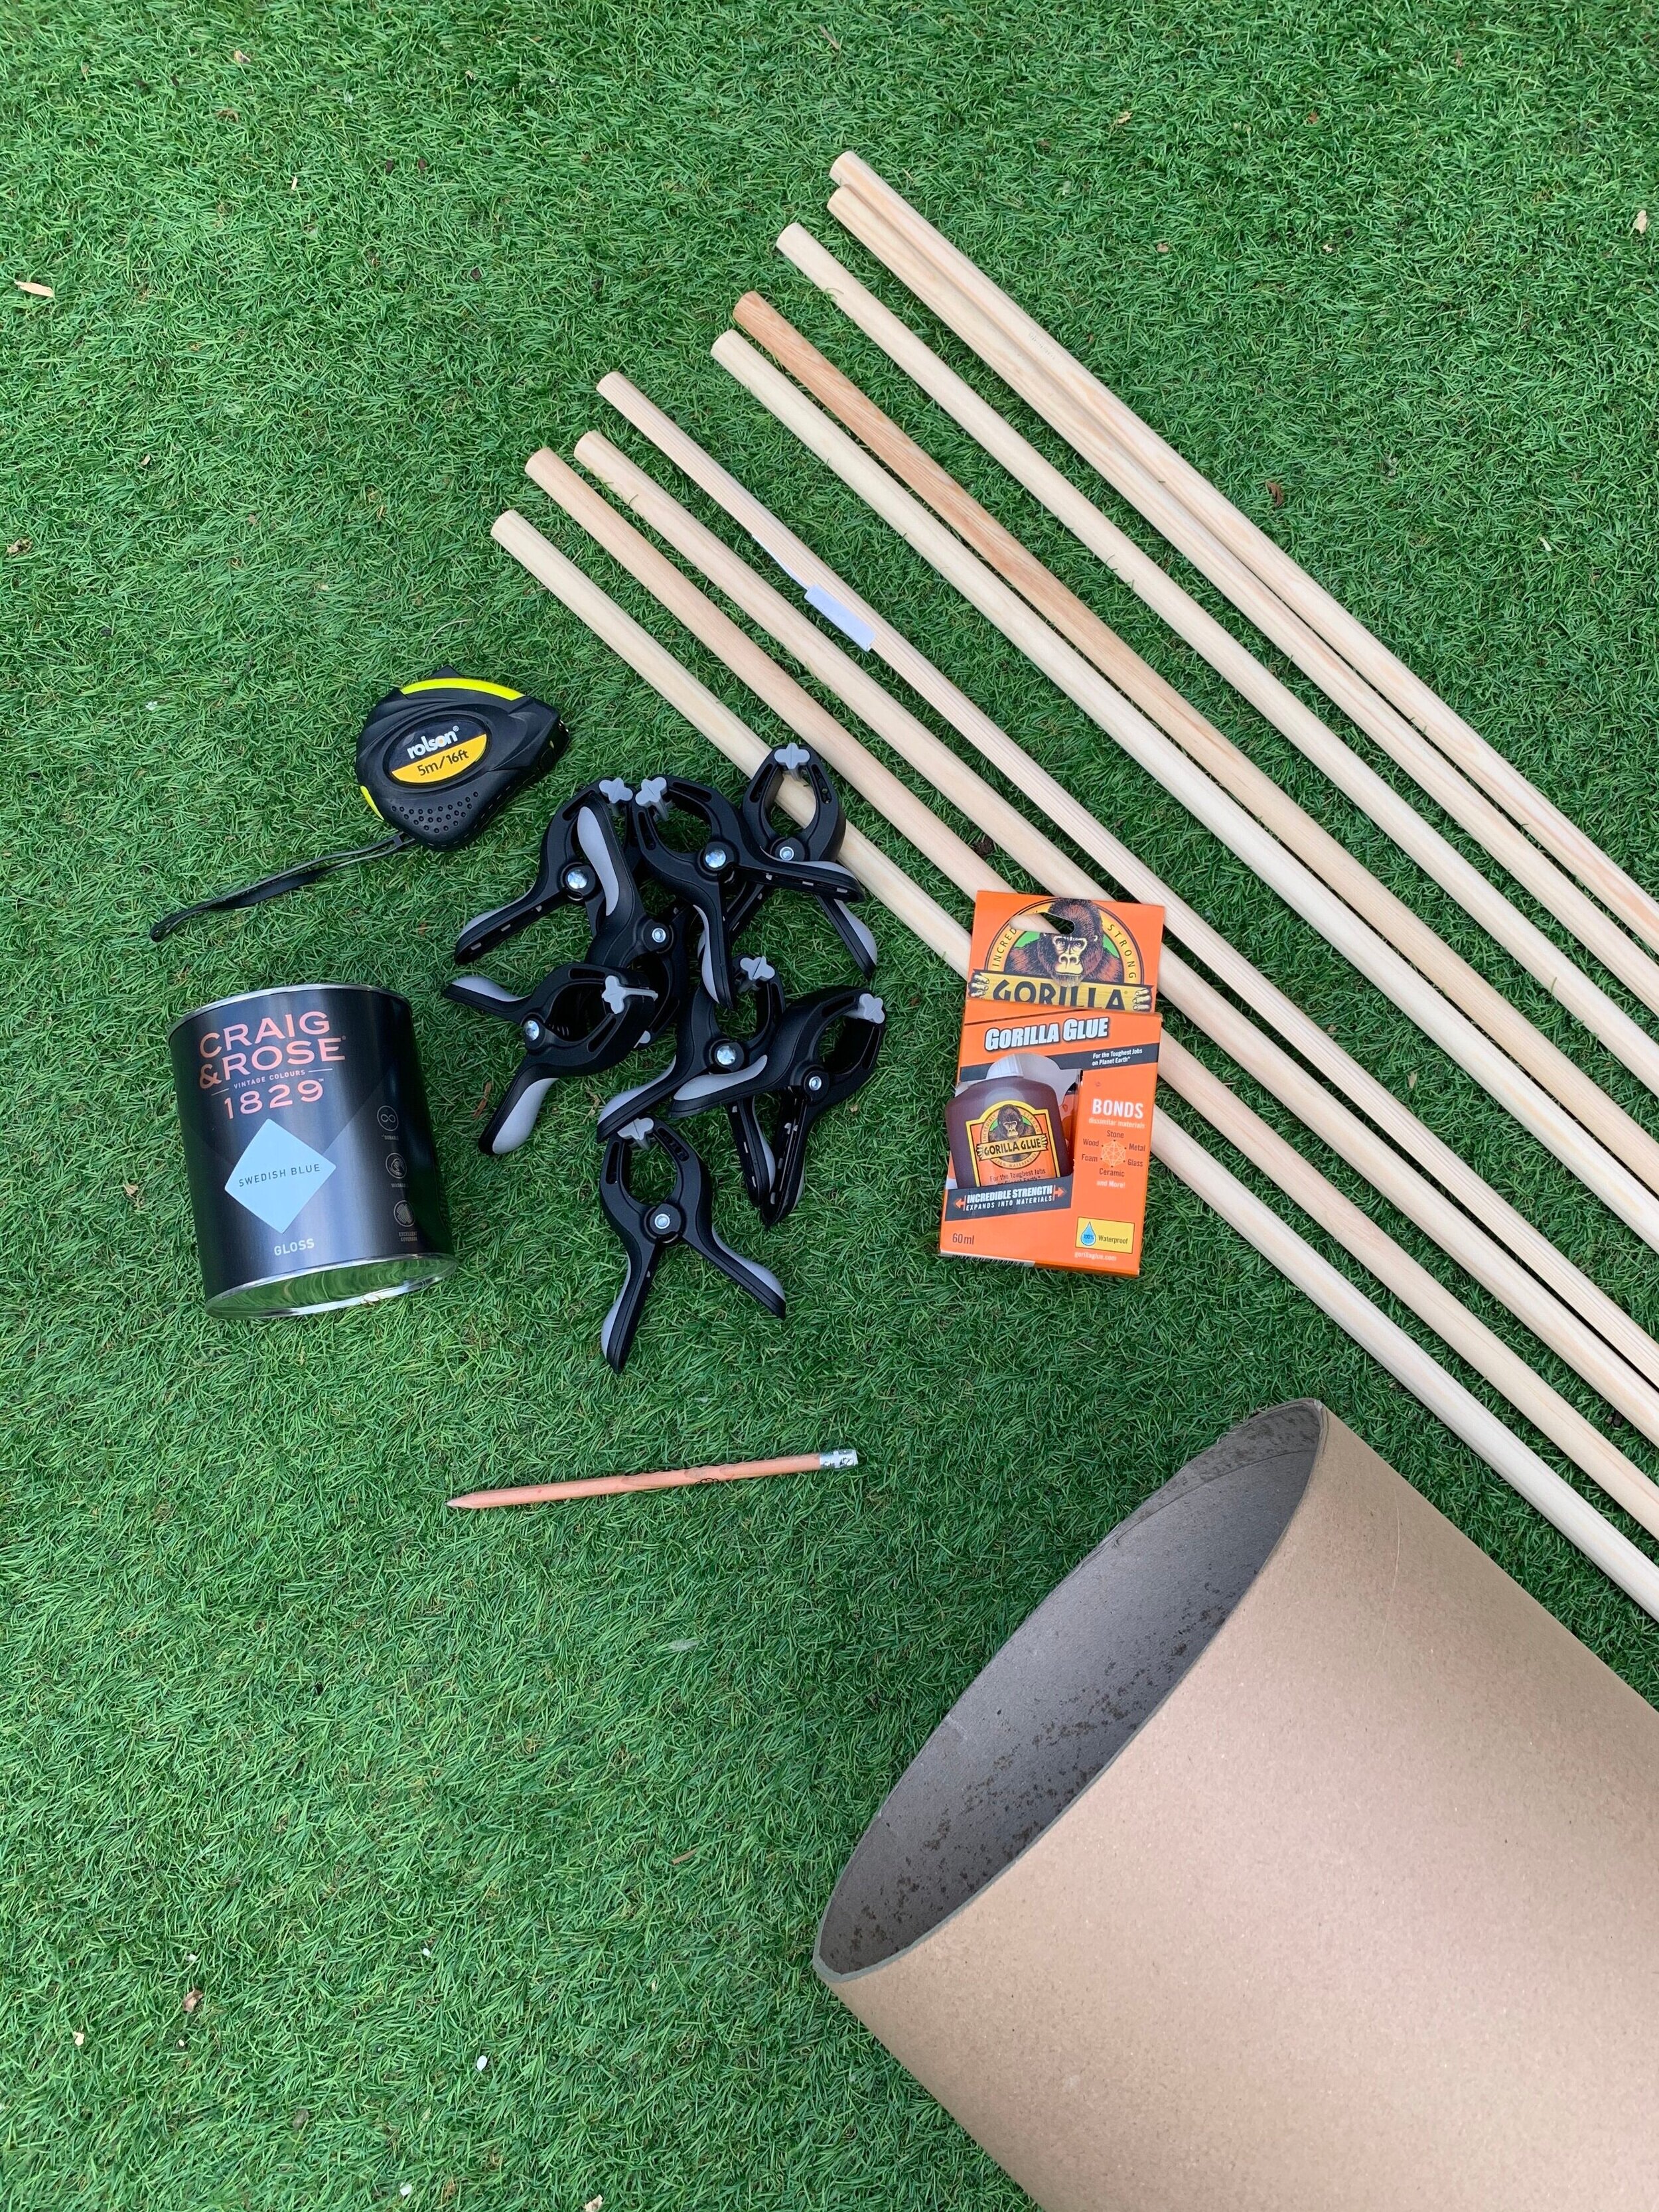
What Do You Need?
1 x Parcel Tube (I went for one with a 254mm diameter, at 1m long it’s big enough to make two side tables if you wanted)
10 x Pine Half Round Moulding 18mm x 8mm x 2.4m
1 x Sheet of Plywood for the top
8 x Clamps (more would be useful/quicker)
Gorilla Multi-Purpose Glue
1 x 750ml tin of Swedish Blue eggshell from Craig & Rose
1 x Paint Brush - Craig & Rose recommend a detail brush for this job
A hacksaw (or even better a mitre saw if you can get your hands on one, for speed and smooth edges)
A Spirit Level
Ok, Now What?
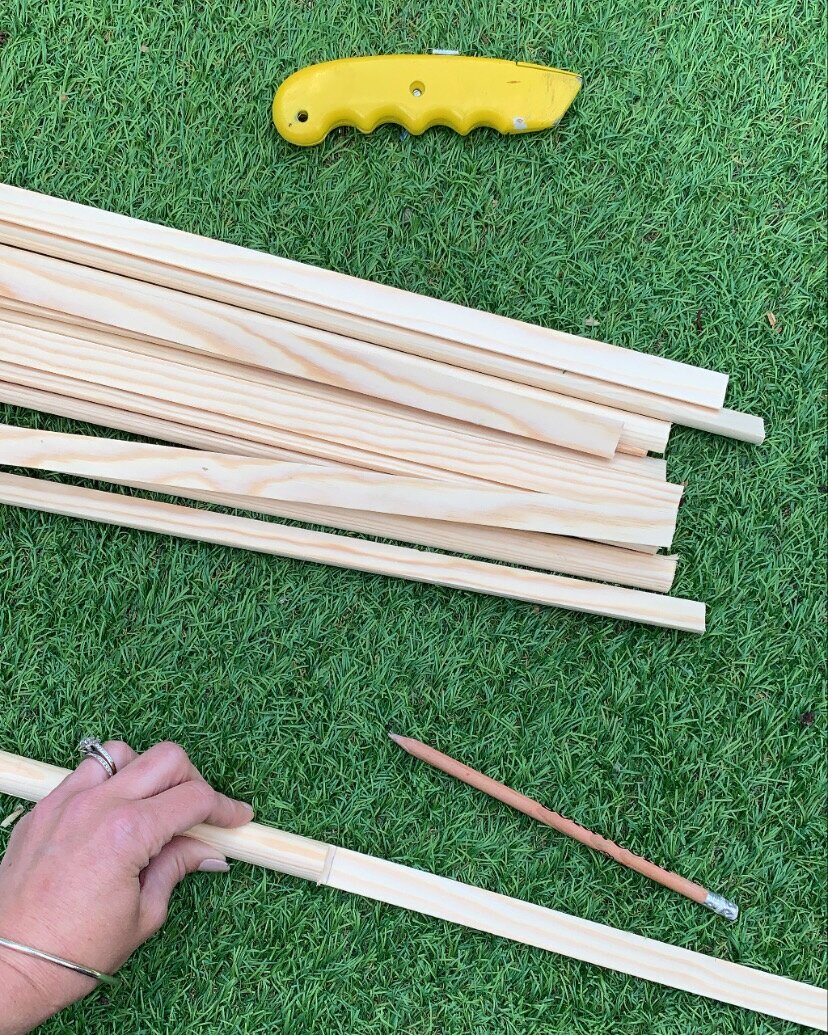
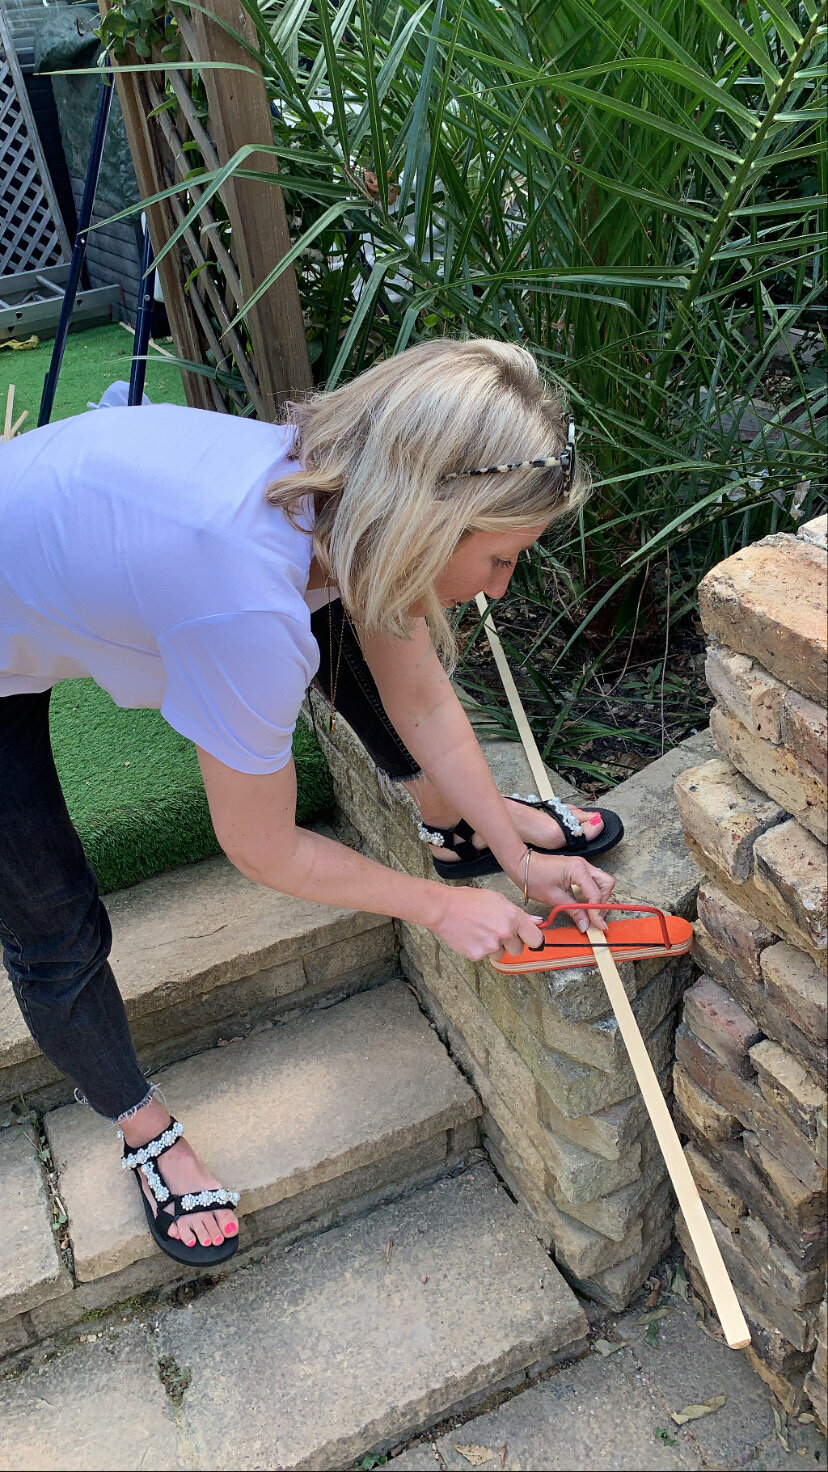
Now it’s time to get cracking. I decided I wanted my table to be quite tall, so I went with 46cm high. However this did mean that when it came to sawing the moulding strips, I had a lot of wastage. That’s what you call poor planning people! If I had been more organised, I would have taken it down to 45cm and I could have got an extra piece out of each moulding strip.
So I cut the postal tube with a Stanley knife, and cut all the pine strips to size. Again, a bandsaw would have saved a lot of time here. Once I had enough it was time to start applying them.
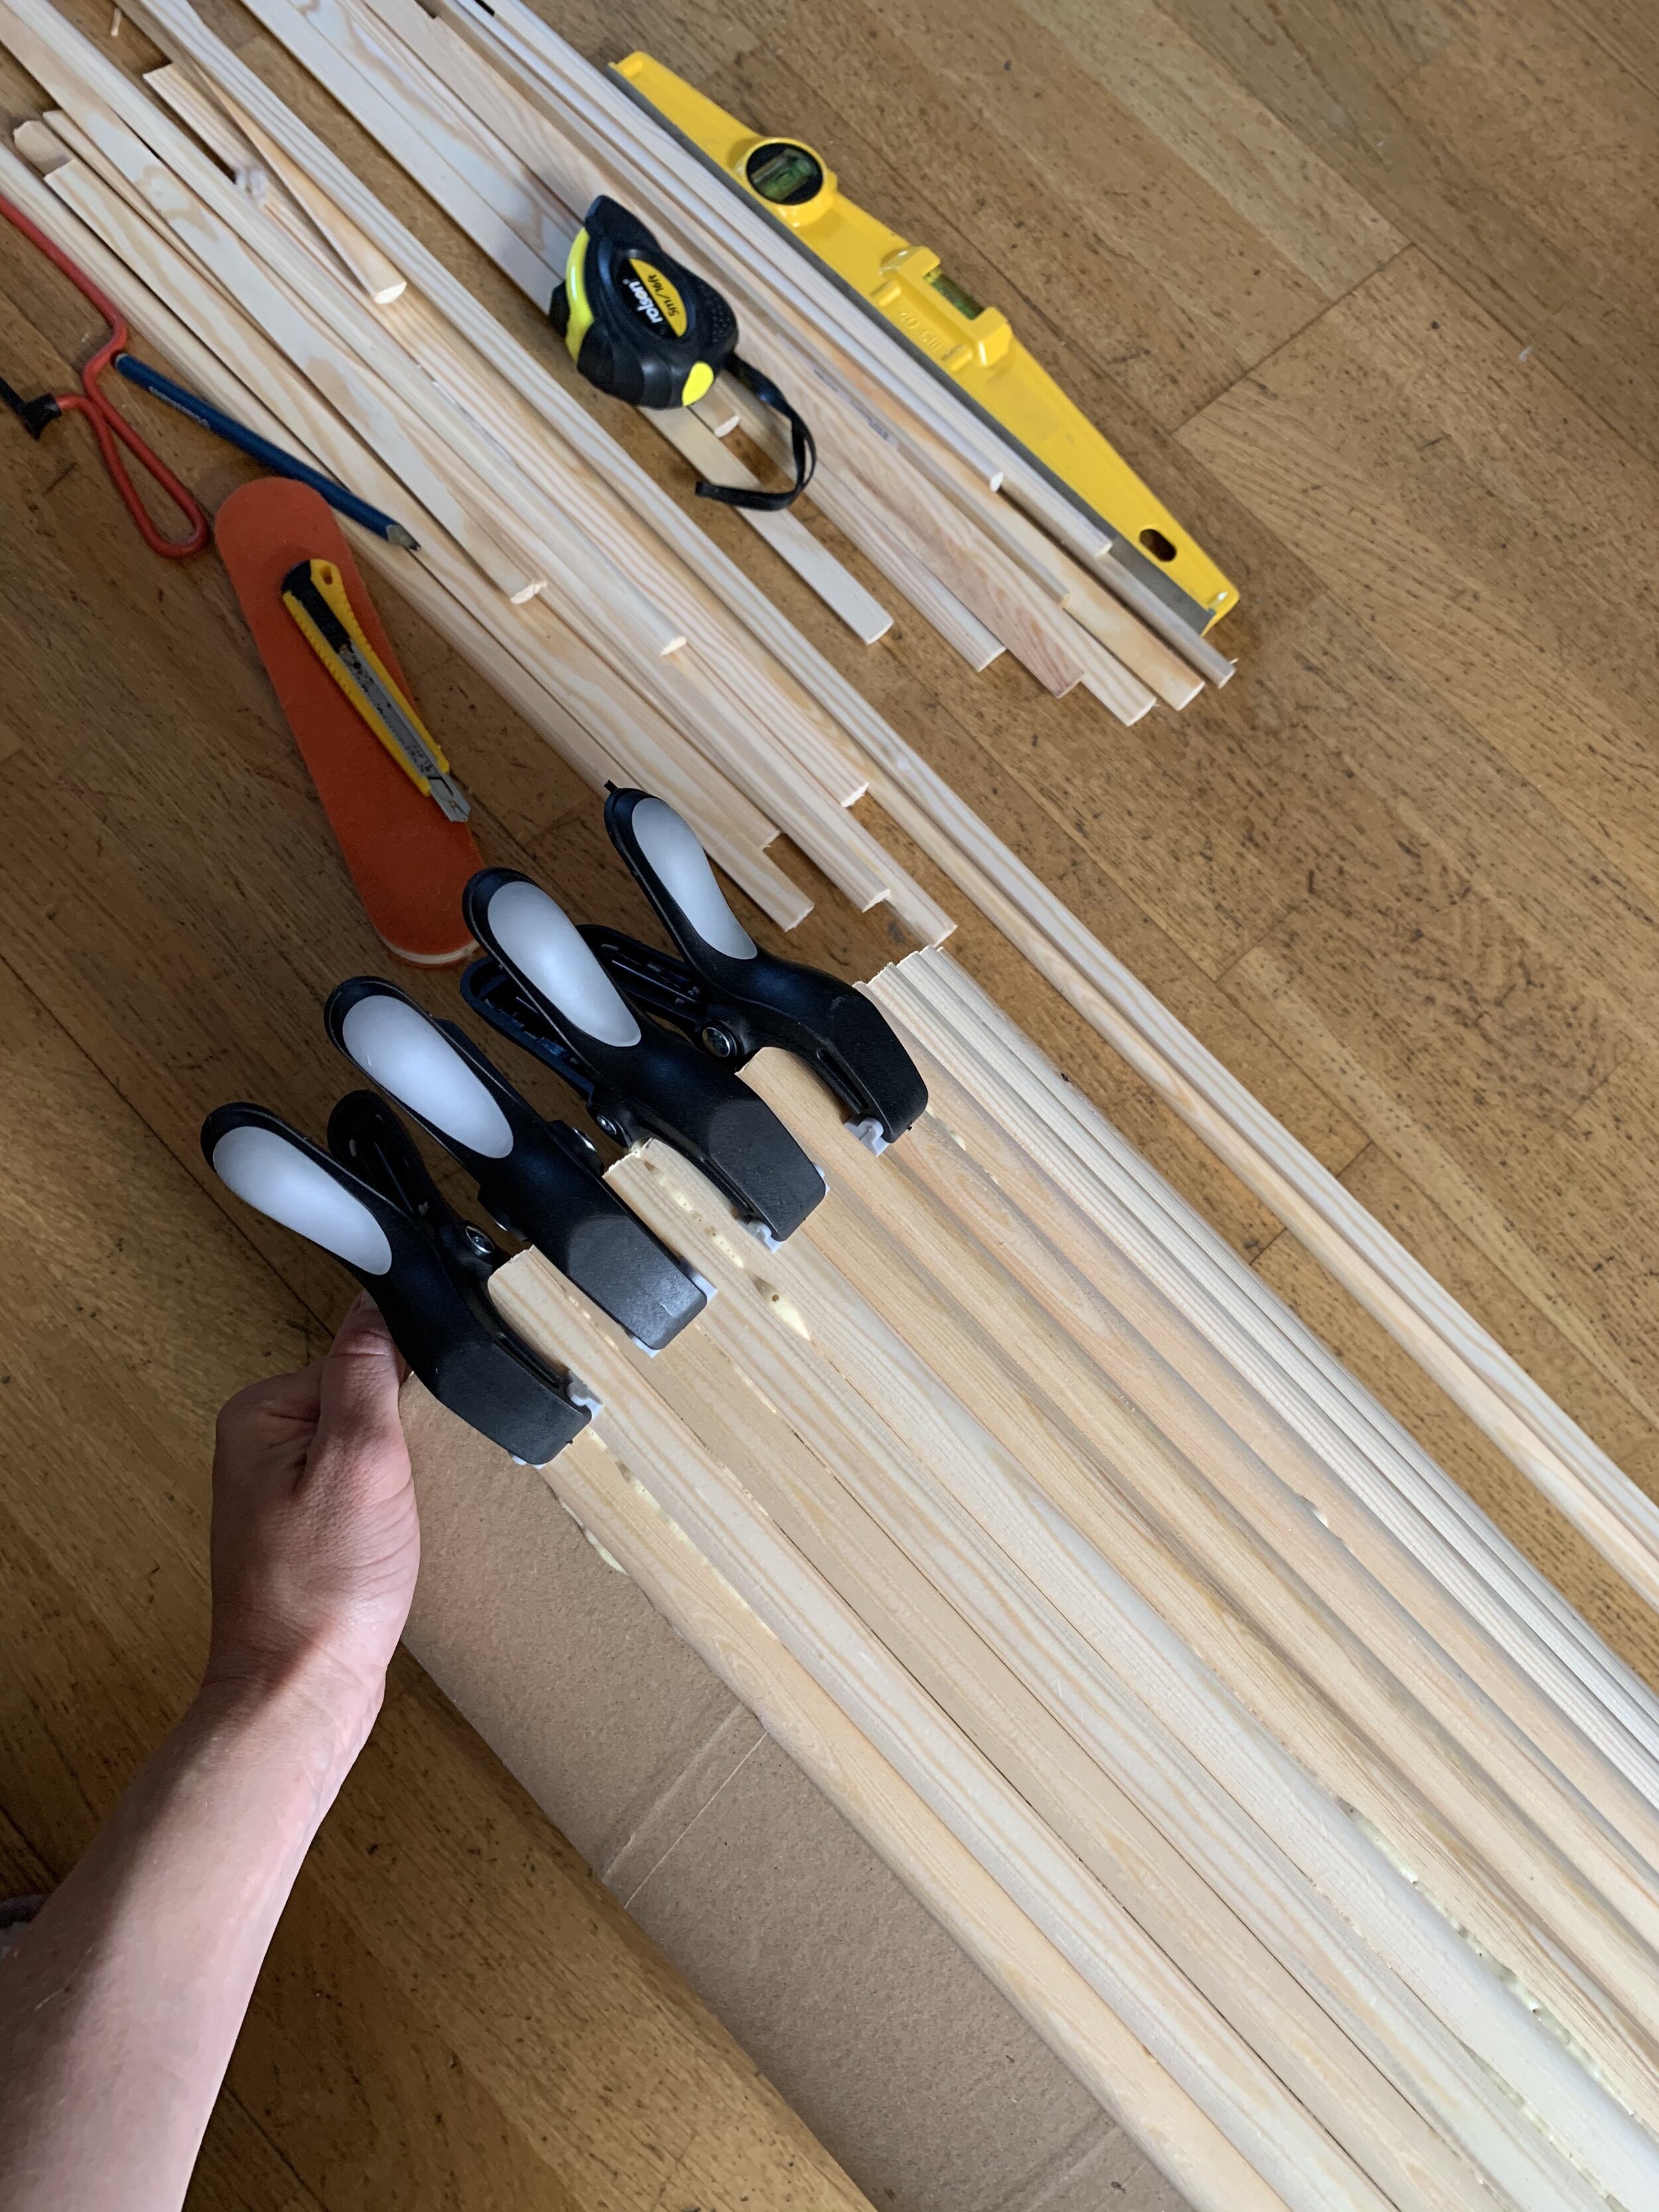
I applied Gorilla Glue directly to each strip and applied it to the tube, using a spirit level to make sure it was straight. Then applied the clamps at both ends to stop them slipping. The clamps I used were big enough to hold two strips at a time, and I only had 8, so I could only do 8 at a time, before having to stop to let them dry.
Once each set was dry and fixed, I repeated the whole process again. In some cases, the glue spread out between the cracks, but I just used a Stanley knife to carefully scrape off any excess.
With the base all done, I have to admit I needed a little help with the table top. If you have, or know someone with a jig saw to cut this out for you, that would be ideal. Luckily Luke, our builder, who is currently working on our kitchen renovation, had one on site, and he kindly cut the top out for me. In terms of measuring it out, I looked around the house for something suitable to draw around and found a large serving bowl, which was the perfect size to sit on top. You can play around with the proportions on this but personally I didn’t want the top much wider than the base, as I think it shows off the fluting detail more to keep a slim profile.
I glued that on top using the Gorilla Glue, sat it upside down with a weight on it for the night, and then gave it all a good sand.

Now to Unsame Your Home!
Saving the best till last, it was time to get the paint on. I toyed with the idea of using Gloss on this. Because baby blue gloss would be a little bit naughty (in a good way) in this fairly traditional lounge. However, if i’m honest, I didn’t think my craftmanship would stand up to the scrutiny of gloss, which would show up every rough patch. So I went with good old Eggshell. Two coats of Swedish Blue in and I knew I’d definitely chosen the right colour! It’s just the perfect soft blue, not too bright, not too babyish. I love it so much I’m considering using it in our upcoming guest bedroom makeover.

I’m willing to bet that there isn’t another blue side table like this one out there. That’s the thing I love about paint. It can transform a room, or a piece of furniture, and it allows you to put your own unique stamp on something with clever use of colour. So I think it’s mission complete, I’ve Unsamed My Home!
What do you think of my DIY? Tempted to give it a go yourself? I’d love to see if you do try your own, so make sure you tag me on Instagram so I can see!
Take care
Jess x


